To equip a shower in an apartment or a private house, it is not necessary to purchase an expensive factory-made cabin. The basis of the shower cabin is a pallet, which is easy to make with your own hands. And the side walls or curtains will turn the shower into a cozy cabin.
On sale there is a huge selection of shower trays, which manufacturers make from a variety of materials. The pallet device for all models is the same. This is a shallow container equipped with a device for draining water, designed for comfortable use of the shower. In most cases, the tank is equipped with legs or has a special shape that allows you to mount a drain ladder at the bottom and lead the sewer pipe into a common collector. The choice of the shape and material of the container depends on the room in which it will be used, the qualifications of the master who will install the pallet, as well as the financial capabilities of the buyer.
The easiest way to make your own shower enclosure is to use a factory-made shower tray. And if the choice of the shape of the pallet is determined based on the parameters of the bathroom and its design, then other criteria may also affect the choice of the material of the pallet:
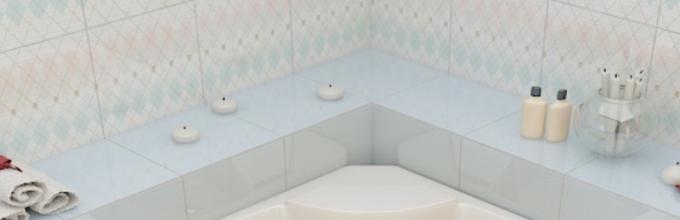
- Acrylic pallets have a fairly high strength, durability and are not subject to corrosion. It is easy to give this material any shape, which is what manufacturers use. However, the material is easily deformed under dynamic loads and is very light.
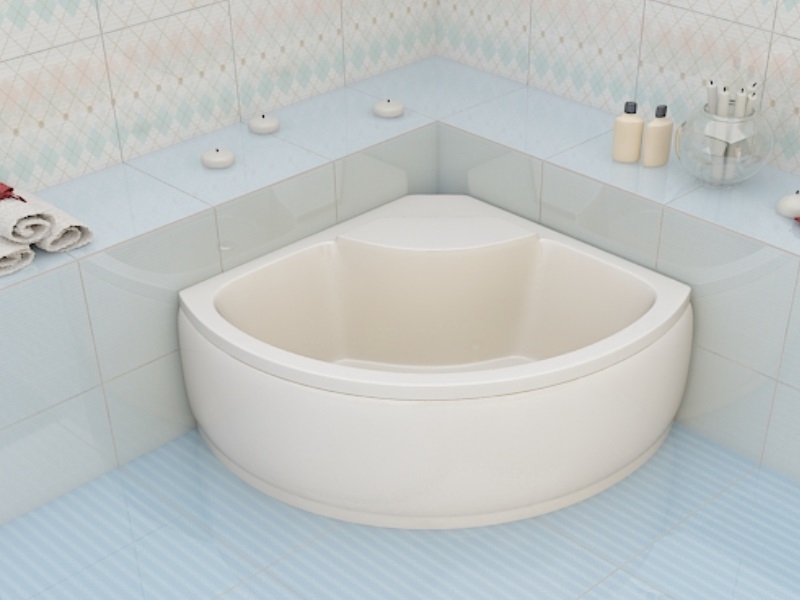
Acrylic pallets are lightweight and easily deformed
- Iron shower trays have greater rigidity and resistance to deformation, but are subject to corrosion. In addition, thin metal has the property of vibrating and making a loud noise under the influence of water jets, which may not please some owners. In addition, the choice of metal pallet shapes is much poorer.
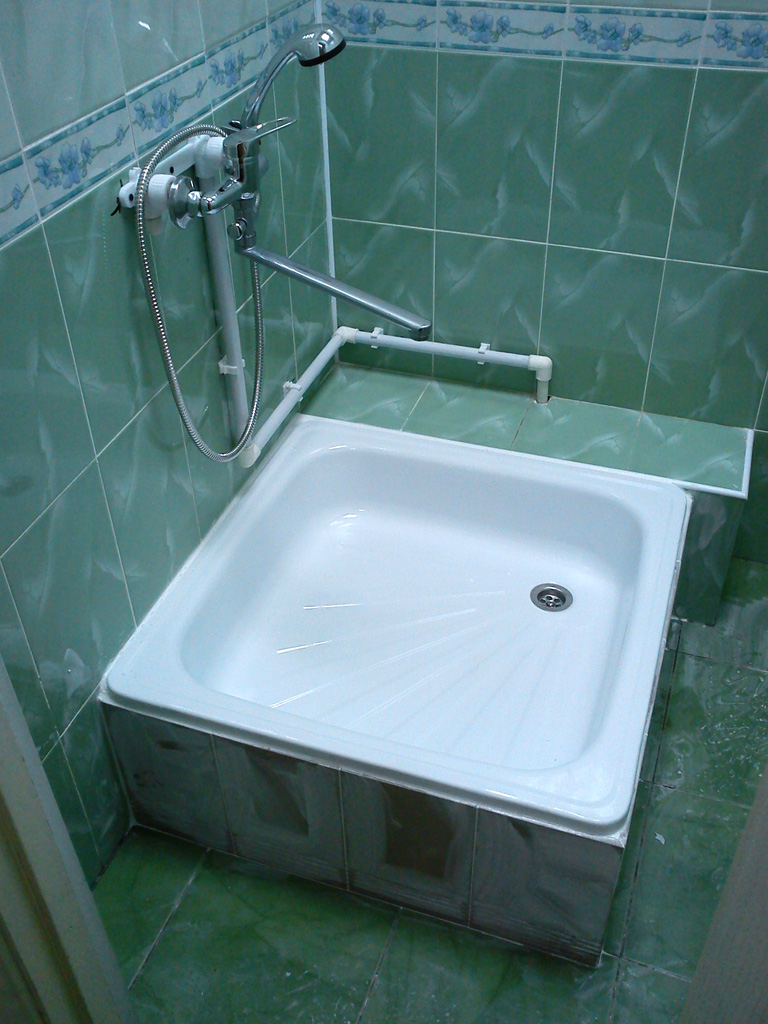
The iron pallet is easy to mount, but has increased noise
- The walls of cast iron shower trays are thicker and therefore vibrate much less than metal ones, but they still make noise. Cast iron is durable and corrosion resistant. However, the enamel that is used as a pallet cover is prone to chipping, and therefore the aesthetic appearance of the pallet and its functionality can be easily lost.
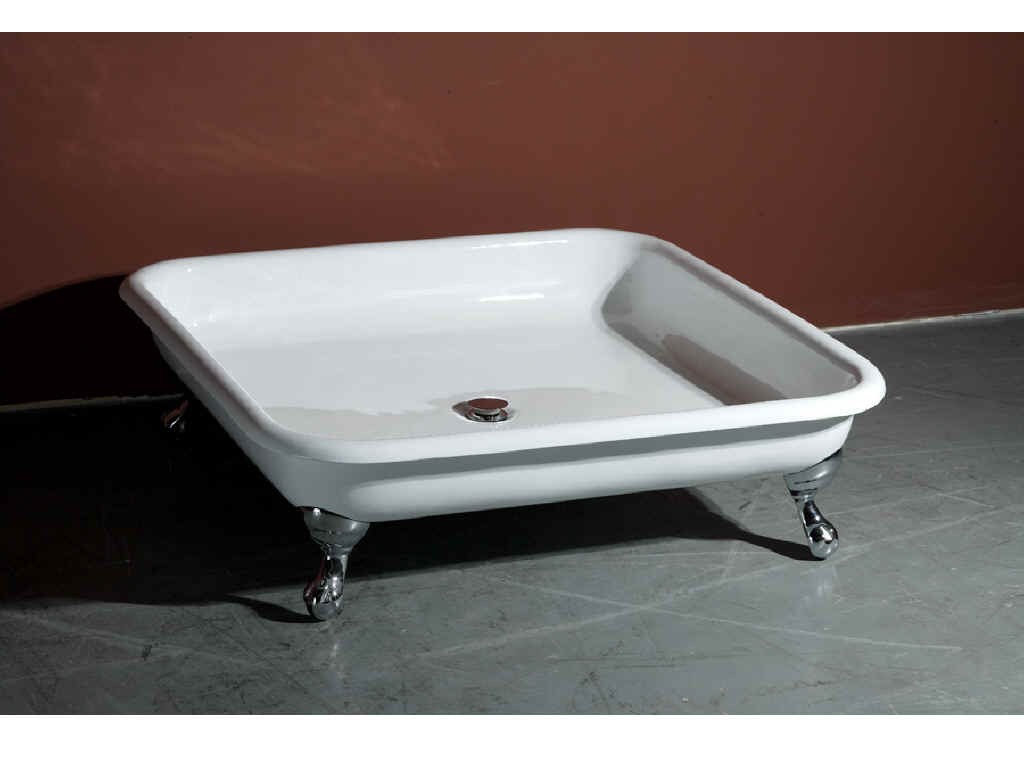
Cast iron pallets are heavy, durable and do not corrode
- Artificial stone pallets, like ceramic pallets, they have significant advantages over all of the listed materials. They are durable, do not rust, the manufacturer can give these materials any color and shape, which makes it easier to choose. Their disadvantages are the high price and the need for special skills from the master for high-quality installation. These materials are easily damaged and split at the installation stage.

For the construction of a brick foundation, the list of required tools and materials will be almost the same. Formwork material, hammer and nails should be excluded from it. The list of facing materials in this case can be increased by including mosaic, facing stone or simply waterproof paint, as mentioned above.
Preparatory work
At the stage of preparatory work, the first task is to draw up at least the simplest drawing indicating the dimensions of the future pallet to facilitate further work. Then it is necessary to clear the place of future actions with a check of the operability of all communications. If necessary, the old fragile floor covering (tile, plaster) is removed. If necessary, an additional neck should be included in the main sewer line to enable the connection of a ladder.
If the surface of the field is uneven, has cracks, crumbles, it is worth making a thin screed using cement mortar.
After that, it is necessary to process the floor and adjacent walls to the height of the side of the future pallet with bitumen or waterproofing mastic in 2-3 layers. For greater reliability of waterproofing, you can use a polymer film or roofing material.
After the waterproofing has dried, you can complete the preparatory work and proceed directly to the construction of the pallet.
We build a shower tray from ceramic tiles
In most cases, the floor level of the shower tray rises above the floor level of the entire room to allow installation of drain equipment. For example, in apartments, sewer pipes are usually laid at floor level. The same method is used in most private houses. Therefore, to ensure the desired slope, the drain hole in the pan must be located above the floor level.
For the construction of a tile pallet, the following sequence of operations should be observed:
- First of all, a ladder (drain neck) and a sewer pipe connecting it to the central sewer are installed. For convenience, the pipes are laid on wooden blocks of different heights and fixed. The slope of the pipe should be 4-7 degrees, but not less than 3 degrees. Experts advise using plastic ladders and sewer pipes, as they are easily and reliably mounted and are not subject to corrosion. But the grate of the drain hole should be purchased metal, one that can freely hold the weight of a person.

The ladder is installed before the foundation is poured
- After that, the floor formwork is installed and a rough pour is made with cement mortar. The solution is made in proportion at the rate of 1 part of cement to 3 parts of sand. The density of the solution must be sufficient to fill the entire space inside the formwork. The thickness of the layer during rough pouring should be carried out in such a way that the neck of the ladder protrudes slightly above the level of the base, taking into account that the finishing pouring and tiling will be carried out further. As a result, the ladder should be flush with the floor. Some craftsmen recommend covering a small space around the drain neck with a solution of building alabaster. This is done in order to provide easy access to plumbing units if necessary. Alabaster, unlike cement mortar, is easy to remove if necessary. After this operation, the base in the formwork should be left for a day.
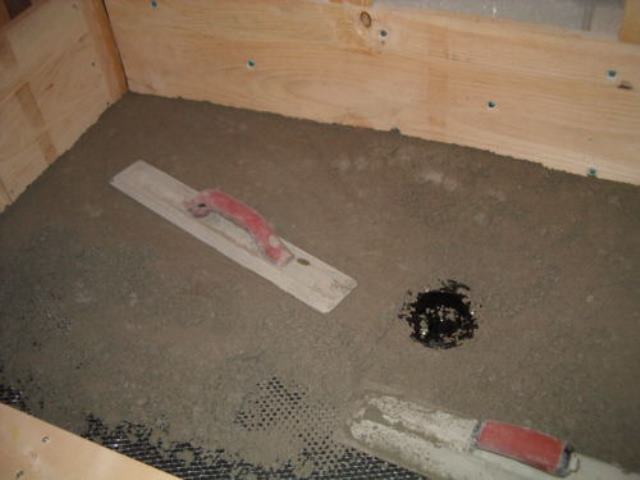
When pouring the base, it is necessary to exclude the formation of voids
- The next step will be the installation of the formwork of the side of the pallet and pouring it with cement mortar. A number of experts advise, after the screed has dried, to perform another processing of the future pallet with bitumen or moisture-proof mastic.
The inner surface of the pallet is finished with a slope towards the drain
- The next step is actually tiling the pallet. The cladding should start from the drain neck in order to trim the tiles near the walls of the pallet. The tile adhesive is applied with a notched trowel. The dimensions of the gap between the tiles can be maintained using mounting crosses. The minimum width of the seams must be maintained. After the tile adhesive has dried, the joints are grouted. At this stage, the work on the construction of the pallet can be considered completed.
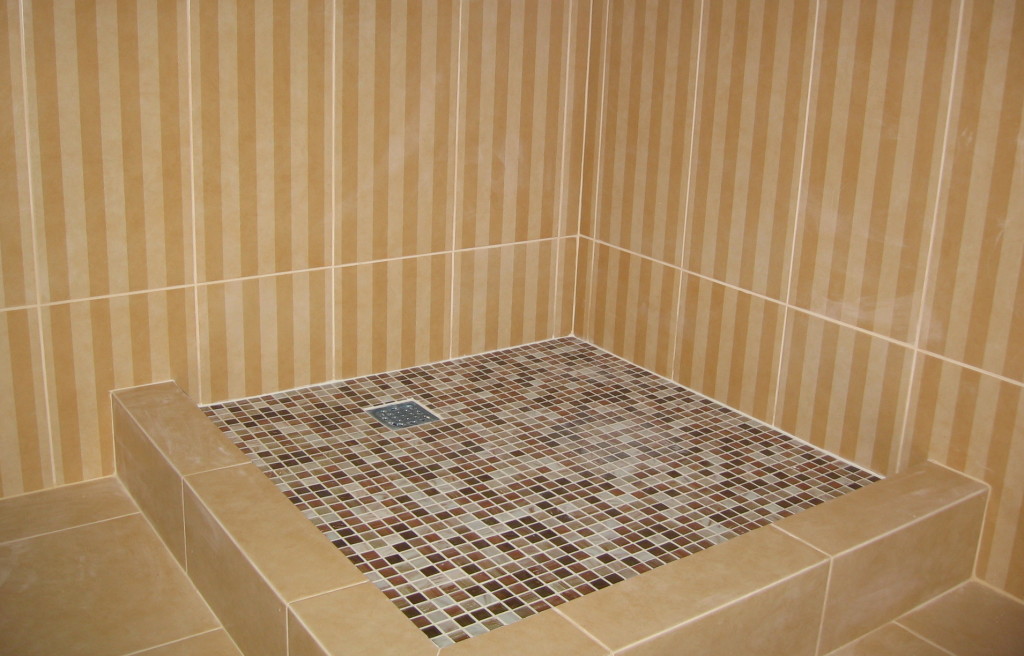
Tiled shower tray matches the overall interior design
Reference: Some home craftsmen include another stage in the list of works that helps to increase the comfort of the shower cabin. This is the installation of cable floor heating. The cable is laid during the rough filling of the floor.
We assemble a brick pallet with our own hands
Installation of a pallet using bricks has a number of differences in the installation method and stages of work:
- Installation of the ladder and sewerage is carried out in the same order as in the previous case. At the second stage, the raised floor of the pallet is formed, but this is done not by pouring the mortar into the formwork, but by using bricks. In this case, the bricks are laid flat on the floor in one layer, with a minimum gap. Masonry is carried out on a solution diluted in the same proportion as for pouring, but not so liquid. All gaps must be filled with mortar. After the solution has dried, it is treated with a waterproofing material using a polyethylene film or roofing material.
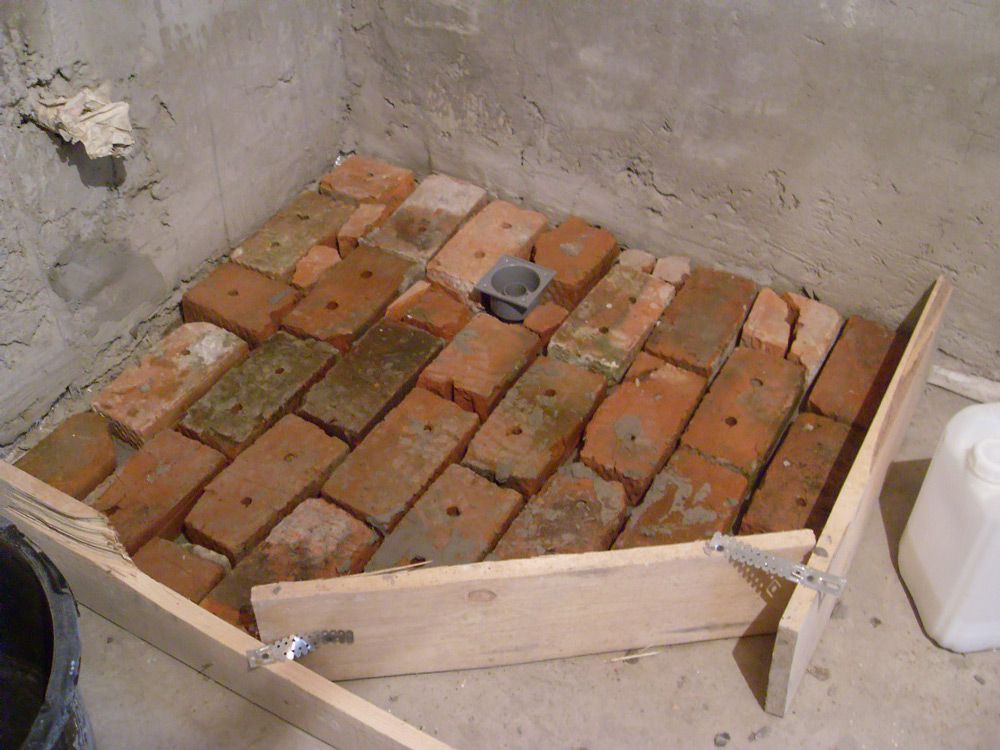
Bricklaying the base of the pallet
- At the next stage, the sides of the pallet are laid. They are placed on the mortar in one row, with a brick placed on a long edge.
With the help of a mosaic, a brick pallet acquires an attractive appearance
Video No. 1 with the sequence of installing the ladder and pouring the base of the pallet:
Video No. 2 with the sequence of monolithic pouring of the pallet:
As you can see from the article, a craftsman with even minimal construction skills is quite capable of building a shower tray in accordance with his tastes and needs and at the same time save on buying a factory product.


