
Two-level ceilings - the design is spectacular and useful. With its help, the easiest way is to change the proportions of the room, divide the room into zones, give a stylistic feature. As a rule, multi-level structures are constructed from drywall. Recently, however, stretch ceilings have become increasingly used.
Two-level ceiling: design options
The film web is made of PVC film. It has all the required positive qualities, among which, however, mechanical strength and hardness are not listed. Therefore, a two-level ceiling structure means several options.
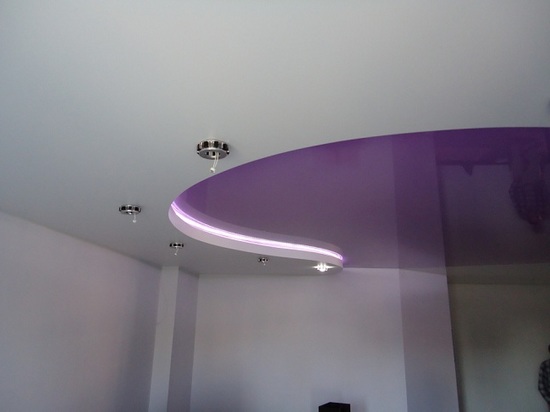
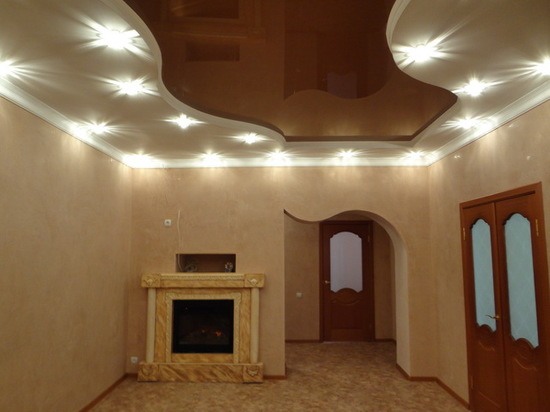
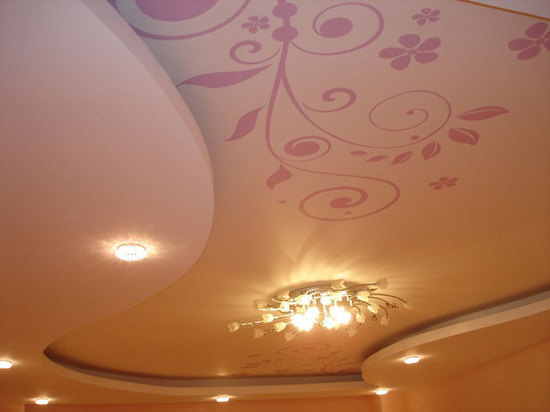
Two-layer tension with backlight - is a conventional tension system, but made in two layers. The design is formed solely for the sake of an interesting lighting solution, and therefore is performed only with backlighting.
Luminaires are mounted on the base floor. Below their level, a perforated opaque canvas is fixed. The second layer is installed even lower and is a translucent color film. The result is a surface flickering with lights of the same or different colors. The photo shows such a solution.
Stretch fabric on the frame - in this case, a frame is mounted from several levels. A fastening system for the web is installed on it, and then the film is stretched, sequentially for each level. This design is very difficult to perform and is extremely rarely built with your own hands.
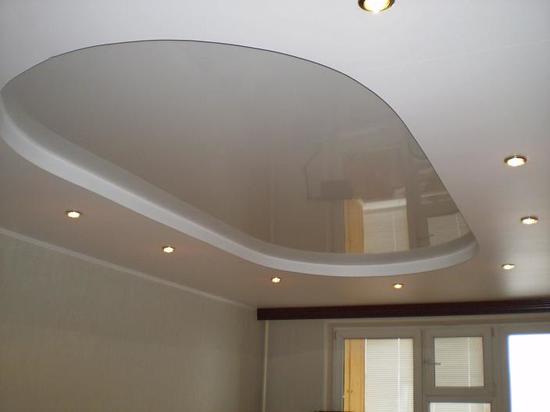
Combination with a drywall element of the second level - this option is possible to implement independently. As a rule, a drywall element frames the ceiling surface around the perimeter - in whole or in part. The film fastening system is placed on the side of the box, and then the canvas is stretched and fixed according to the instructions.
The manufacture of a stretch ceiling, regardless of the method of installation, is carried out only professionally. The pattern and stitching of fabrics requires special technology and equipment, which is completely inaccessible to amateurs.
Installing the film with your own hands is possible, although not desirable. Firstly, a heat gun is needed for installation, and secondly, manufacturing companies provide a guarantee for their product only in case of professional installation.
Stretch ceiling with lighting
In the first version, the luminaires are simply fixed to the base floor and do not come into contact with the two-level structure in any way. The advantage of this method is the ease of installation of lighting, the disadvantage is the great difficulty in replacing the lamp.
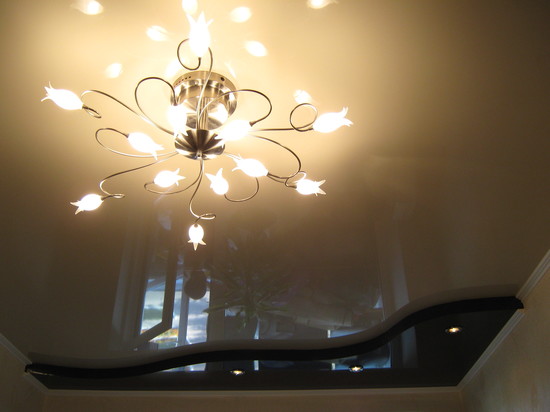
In the second case, mounting with lighting is possible only on the sides of the frame. As a rule, LED strip is used, as it is lightweight and does not heat up.
In the third option, the backlight of any plan is mounted on a drywall box.
Lamps are not installed in the stretch fabric.
Installation of a drywall element of the second level

The technology for the construction of a drywall construction is quite simple, but requires careful calculations and attention during operation. It is recommended to order a stretch fabric after installing the drywall construction in order to avoid mistakes.
A mark for the second level ceiling is made along the perimeter of the room. Its height should, at a minimum, include the distance from the stretch fabric to the base floor - at least 5 cm, and the amount required according to the instructions for mounting fixtures.
The markup starts from the lowest corner of the room. The resulting line must be exactly horizontal - checked by the building level.
The UD profile is fixed according to the markup.
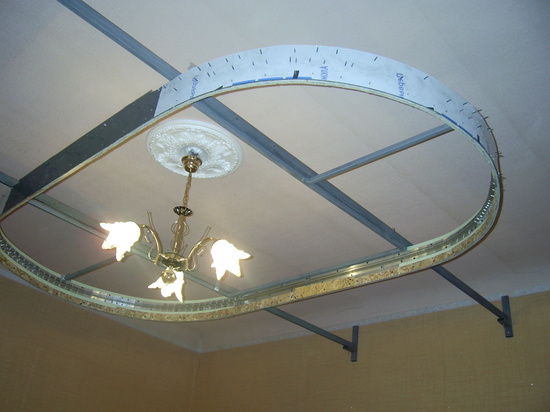
On the ceiling surface, the contour of the element of the second level and the scheme for fastening the longitudinal and transverse elements are marked. A two-level ceiling requires a reinforced frame. Therefore, according to the instructions, the distance between the guides is reduced to 20-30 cm, and the suspensions are installed twice as often.
A UD profile is fixed along the contour to the ceiling. In it, in increments of 30–40 cm, segments of a CD-profile with a length equal to the height of the second level are fixed. A UD profile is fixed to the lower ends with segments. Together, the elements form the side of the second level part.
The wiring is out. Then the guides are cut to size and installed according to the two-level design scheme. The result is a three-dimensional frame for the plasterboard part of the ceiling, as shown in the photo.
The frame is sheathed with sheets. The technology is somewhat different than when finishing a single-level version. The difference is the number and dimensions of the elements, since the frame is sheathed with two layers of plasterboard ceiling sheets with overlapping seams. The material is fastened more often - in increments of 10-15 cm.
If the element is curved, then the side parts must be bent according to the template. To do this, drywall is wetted and placed on any base of the appropriate diameter. With a small bending radius, a drywall strip can simply be cut from the inside and bent.
Holes are cut out for fixtures in sheets of material.
The plasterboard box is puttied, the seams are sealed, the surface is sanded and can be painted as desired. Lighting devices are installed and connected. Before installing the stretch fabric, this part of the ceiling must be completely finished.
First level installation
On the sides of the box and on part of the wall, if provided for by the project, a wall profile is attached. If the element is curved, it is recommended to choose systems with a plastic profile, as it is easier to bend.
The canvas is fixed diagonally to the corners. Then it is pulled along another diagonal, fixed around the perimeter. Tension is produced under heat. Otherwise, the film will simply tear.
Upon completion of the work, a decorative plinth is mounted at the junction.
The video details the installation of a two-level ceiling.


