
Any surface finished with modern materials should look impeccable. This is especially true for the ceiling, because it is the ceiling that is completely exposed to the eyes of residents and their guests. We suggest considering the features of painting a plasterboard surface, choosing paint and applying it yourself.
Before painting the surface, you need to choose a quality paint. It should be immediately noted that oil-based materials are not suitable for this type of work. Instead, experts recommend water-dispersed materials. They are characterized by properties that are highly valued during construction or renovation:
- such paints dry quickly;
- they are non-toxic;
- do not have a nasty odor;
- can be renewed - they do not need to be removed before applying the next layer of paint.
Dispersion paints retain their original shade for a long time and are resistant to damage, however, such compositions are marketed mainly in white. In contrast, dispersion products have a wide selection of shades.
Experts advise painting plasterboard ceilings with latex-containing materials. They provide an even, high-quality coating that is not afraid of contamination. Such surfaces will respond well to wet cleaning using household detergents. In addition, this paint can hide small defects in ceiling surfaces. To obtain an ideal coating, you will need to apply 2 layers of the composition.
Acrylic materials are also in great demand - they are easy to use, inexpensive and resistant to damage.
For work in rooms with high humidity, it is optimal to use silicate paint compositions. These paints prevent the appearance of fungus and mold.
Almost all the best qualities are combined in silicone paints. They easily seal cracks up to 2 mm deep. Their coatings are completely waterproof. After the material dries, a film is formed on the surface that is not afraid of contamination and damage.
In addition to the difference in composition, paints and varnishes differ in the degree of gloss. Almost every manufacturer produces both glossy and matte products, as well as their varieties, the name of which includes the prefix “semi”. Matte materials help hide surface defects and make the ceiling a little “deeper.” Glossy materials are more stable and do not suffer as much from wet cleaning. However, any scratches are clearly visible on such coatings.
Often, gypsum board ceilings are painted with white enamel. It is also durable and has a long service life. The only negative is the high cost of such material.
We are preparing the tools - what will be needed for the job?
Before painting a ceiling made of plasterboard, you will need to prepare the necessary tools. Their list is small, but you should definitely have them all on hand.
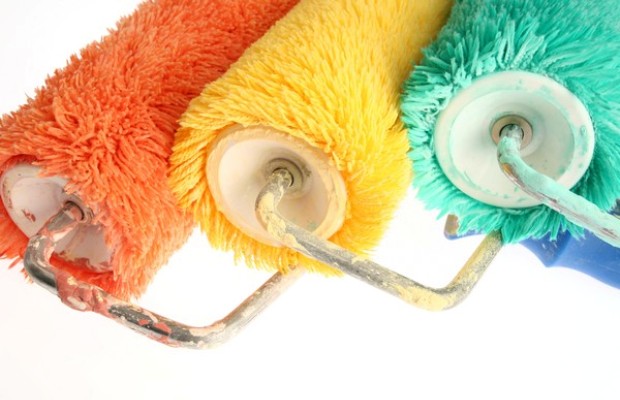
First of all, you need to buy a high-quality fur roller. The pile on the tool should be short, since rollers with long bristles are not able to apply a layer of paint evenly. Also pay close attention to the material of the “fur coat”. Don't buy tools with foam rubber because it will cause bubbles. A good option would be a roller, the main elements of which are made of fur. They paint the surface well without leaving streaks. We recommend purchasing a handle extension along with the roller.
To work, you will need a paint brush, which you will use along the edges of the panels, in the corners and near the holes.
You will also need a paint tray. Do not take a product that is too large, because the material in it dries very quickly.
Don't forget to purchase personal protective equipment with a cap - it is quite difficult to wash paint off your skin and hair.
Processing seams is an important step before painting
To make a plasterboard ceiling, only one sheet of material is not used. For this purpose, special panels are used, when laid, joints are formed. Before, made from plasterboard, you will need to seal the seams so that the surface is as smooth as possible.

The processing of each joint consists of three stages: priming, sealing and reinforcement.
- Priming is necessary in order to bind the gypsum dust that appears after laying the panels. Thus, by applying a primer, you can prepare the ceiling for coating with the following materials.
- Sealing the joints with putty will help seal holes of different sizes. To do this, the mixture is diluted with warm water and stirred until a homogeneous mass is obtained. Only fresh solution should be applied to the surface, as it penetrates better into the seams.
- For reinforcement, experts advise using serpyanka - a special tape that strengthens the joints. The product can be glued to the base of plasterboard panels before applying putty or after the first layer of putty mixture has dried.
Painting the ceiling - how to achieve the best result?
In order for painting a prepared plasterboard ceiling to bring good results, you must strictly adhere to a certain technology. First, prepare the material: open the jar and carefully mix the paint. If you are using thick water-based paint, you will have to dilute it with a small amount of water.
Start applying paint in hard-to-reach places - in the corners and joints of the ceiling and walls. In this case, it is best to move the tool as if you were poking the brush at the ceiling. This method will help avoid streaks and drips.
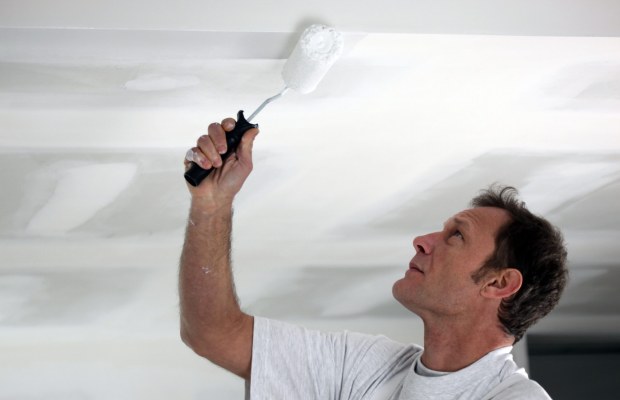
Next, a layer of paint begins to be applied to large areas. The roller should move parallel to the wall with windows. Each strip left by the roller must overlap the previous one by at least 10 cm. Do not allow excess composition to appear on the roller so as not to leave drips. Also make sure that the “coat” of the tool is completely covered with paint.
To maintain a uniform layer, follow two rules. First, be sure to finish the layer you started without even taking short breaks. Secondly, do not change the roller before finishing the layer.
A ceiling made of plasterboard will have to be painted several times. The second layer is applied immediately after the previous coating has completely dried. However, this time the stripes should be perpendicular to the previous ones - this is the only way you can achieve the most even and uniform coating. After applying several stripes, pause and inspect the surface.
If you wish, you can paint it yourself using a spray gun. This method has two big advantages: you get a uniform coating and save time. However, do not forget that some compounds are not suitable for working with this device. For example, paints with a thick consistency are not used when working with a spray gun.


