A shower cabin in a wooden house can be made by any home craftsman with your own hands. It is worth remembering that wood is a rather capricious material, so the main emphasis must be placed on high-quality waterproofing, taking care of the attractive appearance of the system.
A little about technology
It is necessary to begin such work with a layout that includes choosing a location for the booth. It is usually placed against a wall or in a corner. It is important to think about where the hood will be located. After this, water and sewer pipes are brought to the installation site. At the planning stage, it is important to pay attention to the size of the room. If the shower stall is relatively small, then cosmetics and household supplies are best placed in open systems.
Material selection
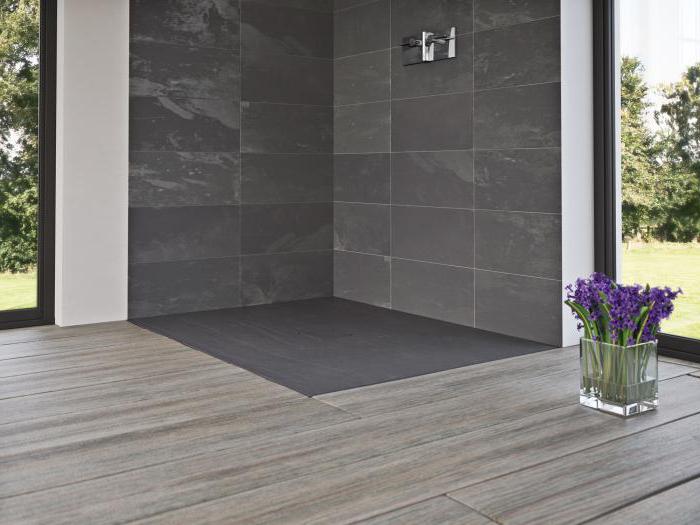
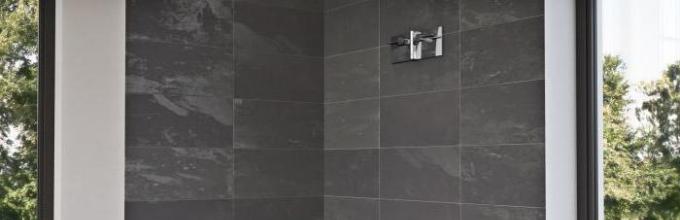
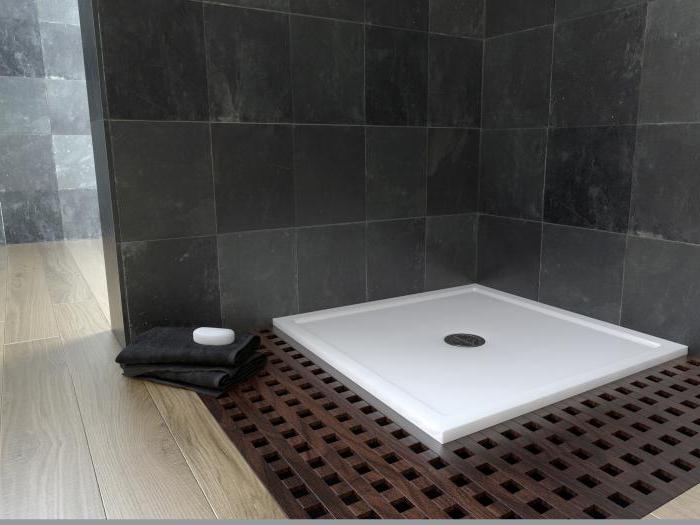
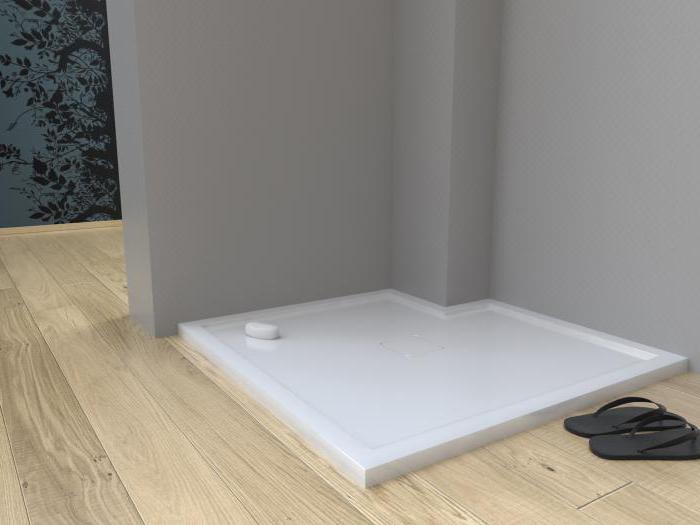
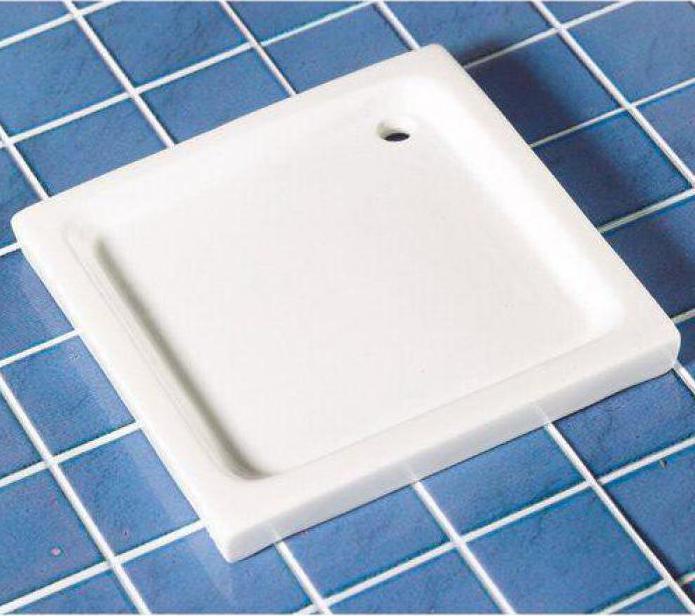
If you are going to make a shower cabin in a wooden house with your own hands, then it is important to choose the right materials. The designs described in the article can be with or without pallets. The first option is more practical, while the second is easier to install. If the room is small enough, then a shower stall with an inclined floor will do. The pallet will then be made of bricks or concrete, after which it must be covered with tiles. Instead of an expensive glass sliding door, you can use a regular plastic curtain. However, the most successful and attractive option is tempered glass, which can withstand impact loads.
Preparing tools
Quite often recently, a shower cabin in a wooden house is made by hand by ordinary home craftsmen. If you also decide to resort to this technique, then you should decide on the design configuration and prepare the necessary tools and some materials. Among them it is necessary to highlight:
- building level;
- containers for grouting and preparing other solutions;
- screwdriver;
- spanners;
- putty knife;
- Master OK;
- drill;
- perforator;
- grinder;
- electric jigsaw.
Making a shower stall
A do-it-yourself shower cabin in a wooden house is made using a certain technology, which involves protecting materials from moisture. To do this, waterproofing all surfaces of the room is carried out. Thanks to the wide range of waterproofing materials on the market, you can make your room comfortable and functional. It is important to properly install a ventilation system that will get rid of high humidity and prevent the formation of fungus and mold.
For a small wooden house, passive ventilation will be sufficient. In this case, air exchange will be ensured naturally without the use of exhaust and supply fans. Air will enter through building structures or supply valves. An exhaust vent must be installed at the top of the wall. It should extend 50 cm above the roof. The outer part of the air duct should be thermally insulated, which will prevent the formation of condensation. The equipment must be made of non-flammable materials.
The ventilation of a shower cabin in a wooden house must have dampers in the shafts; they will block the flow of oxygen in the event of a fire. In passive systems, air will circulate due to temperature differences and pressure differences outside and inside the building. Flows will penetrate into the house, heat up and rise to the ceiling, exiting through the hole. This method of air exchange is especially effective in winter. In summer, flow circulation will depend on pressure changes and wind. In the off-season, air exchange will stop. In order to enhance its efficiency, a fan is installed in the exhaust shaft.
Fan installation
Homemade shower cabins in a wooden house may include a fan; to install it, you need to mark a place on the wall for insertion. The hole is cut using a drill, then the coupling is inserted and the protruding elements are cut off. At the next stage, the technician should install the electrical wiring and drill a hole for the fasteners. The main stage will be the installation of the muffler and housing, the latter of which is closed with a lid. From the outside, the holes are closed with a ventilation grill.
Drain arrangement

Before making a shower stall, it is necessary to ensure the presence of a sewer drain. It is important to remember that log wooden houses shrink over time. This information will help when choosing sewer pipes. It is better to prefer drainage systems made of materials that are resistant to mechanical damage. Among them are:
- high-quality plastic;
- metal-plastic;
- polyethylene.
For showers, use 50 mm. pipes. Drain pipes are led into a common riser, which should be located at a slight angle. For fastening, movable joints are used, which prevent damage to the sewer system when the floor shrinks.
Insulation works
The floor under a shower stall in a wooden house requires reinforcement. During construction, additional supports must be installed under the finished floor. The materials are treated with an antibacterial and water-repellent composition and insulated with polymer mastic, which is sometimes replaced with a rubberized self-adhesive membrane. Next, you can make a screed from cement-polymer mastic.
Before making a shower stall, it is necessary to prepare the floor; to do this, the coating is cleaned of paint and oil stains, as well as dirt. The surface is treated with waterproofing and water-repellent compounds. Next, a rubberized membrane is laid; polymer coatings are sometimes used instead.
Insulation of a shower cabin in a wooden house is carried out using a technology that involves closing the drain holes with drains. A cement-polymer mortar is poured on top in two layers, the thickness of each of which can be 3 mm. The second layer is applied 3 hours after the first one is installed. About 7 hours after this, you can decorate the surface with tiles.
A DIY shower tray can be made in several stages. If there was no screed on the floor before work began, it must be filled. Before this, the surface is waterproofed with bitumen mastic or polymer film; the material must extend onto the walls. The finished screed should be coated with a primer and waterproofed with the mixture in another layer. Multi-layer waterproofing and priming will prevent flooding of the underground space and protect materials from pathogenic microflora, as well as the appearance of moisture and unpleasant odors.
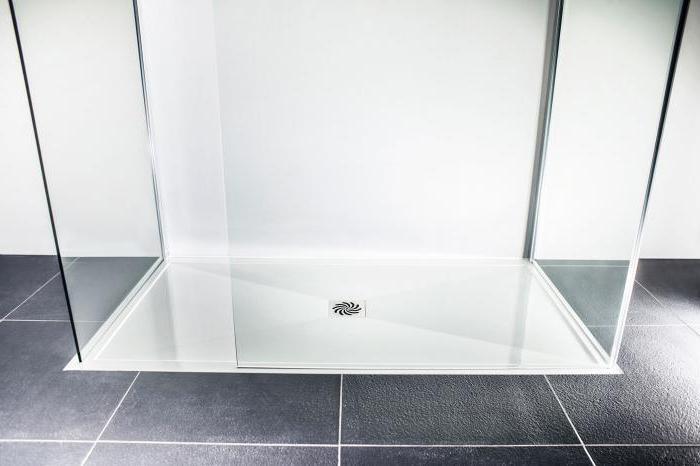
For insulation, you can lay sheets of expanded polystyrene under the screed, but this will raise the level of the structure. The base is usually strengthened with a metal mesh that is placed in the solution. It is important to ensure a three-degree slope towards the drainage pipe. If the foundation of the house is too low, then it will be impossible to fulfill this condition; this will negatively affect the operation of the drain. If you decide to make a shower tray with your own hands, then it can be supplemented with sides and a step on the outside for comfortable use.
For safe use
As soon as the screed has dried, a waterproofing layer should be applied to it again, and then the surface along with the sides should be covered with a primer and waterproofing. Particular attention should be paid to the area around the drain hole and the corners. The layer should not have gaps or omissions; it must be made in the form of a solid coating.
Carrying out waterproofing before installing a shower cabin in a wooden house
Before installing a shower cabin in a wooden house, it is necessary to carry out waterproofing work. To begin with, a screed is laid, and sometimes a cement-bonded particle board is laid. Bitumen is applied on top, and other coating materials can be used. They may have different names, but are usually made on a bitumen basis. The waterproofing properties of the material can be increased by providing an overlap between two layers of bitumen. At the next stage, ceramic tiles are laid; for this, high quality adhesive should be used. It is necessary to protect not only the walls, but also the ceiling from moisture. The surface can be plastered and coated with a fungicidal compound.
The latest word in wall insulation is the use of materials that have surpassed plasterboard in its qualities. They are fastened to the frame using dowels, and applied to the joints. On top you can lay mosaic or ceramic tiles. In the place where the tiles adjoin the wall, cracks may form during installation. The joints are treated with a sealant; it is best to give preference to those that are made not on a silicone base, but on a bitumen base.
Features of installing a cabin in a wooden house
A do-it-yourself shower cabin in a private home can not only be made, but also installed independently. At the first stage, the hose is connected to the sewer riser. All connections should be sealed. A gasket is installed in the pan drain; it should also be treated with silicone. At the next stage, a pan is installed, a drain and a siphon are fixed to it, then you need to check the structure for leaks.
When installing a shower cabin with your own hands in a private house, an electrical connection is required. Outlets are usually located on the side or rear of the cab. The kit includes an aluminum profile into which the walls are inserted; another profile is fixed on top of the panels, which will hold the elements as securely as possible. After installing the cabin curtains, you can begin installing the doors. If they are sliding, then they are installed on self-adjusting rollers. If the doors are hinged, they are put on hinges.


