A couple of decades ago, there was a meager selection of building materials that allowed you to aesthetically design a bathroom. Sealing with cement mortar followed by the application of enamel paint is a favorite method of the majority of the population of the recent past. An indispensable condition for long-term operation of the joint without destruction was the absence of the slightest vibrations of the bath. The intensive development of the chemical industry and the improvement of technological processes have filled the market with a wide range of products that allow you to seal the joint between tiles and bathrooms with high quality and elegance.
Joint design options
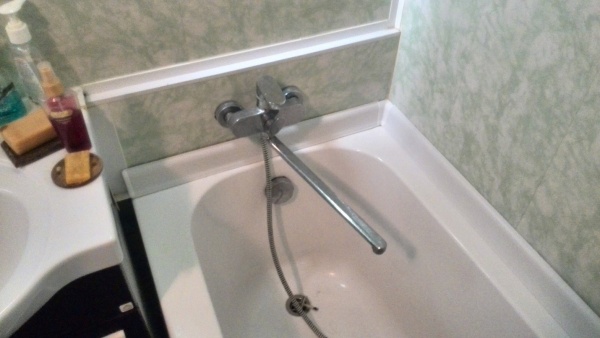
In the process of re-equipment of the bathroom, the question of the sequence of work performed regularly arises, preventing further water flow at the junction of the tiles and the bathtub. Experienced specialists offer a lot of options for solving the problem, providing an opportunity to choose the most optimal method in a particular situation.
Planning for a long-term operation of the bath allows you to install its sides into the wall. After high-quality fixation of plumbing, tiles are laid, the connecting joint is processed with inter-joint grout. Such a solution has certain nuances. The complete elimination of the risk of water leakage is a significant plus of the proposed method. Among the shortcomings, there is a possibility of violation of the laying of tiles at the junction as a result of insufficient stability of the bath. An unforeseen situation regarding the replacement of a plumbing item will entail additional investments of financial and labor resources for dismantling the tiles and re-laying them. The chance to pick up finishing material from a similar collection is small, so replacing the bathtub can provoke a complete renovation of the restroom.
It is much more effective not to embed the bath in the wall, but to use modern materials for sealing the joint. The following options have gained steady popularity:
- application of grout for tiles;
- use of the solution;
- foam finishing;
- work with silicone sealant;
- installation of curbs.
Each method has certain advantages and some disadvantages, which are excluded by the simultaneous combination of several methods. A detailed acquaintance with the process of sealing between the bathroom and the joint tile will allow you to choose the most appropriate option in a particular situation.
tile grout

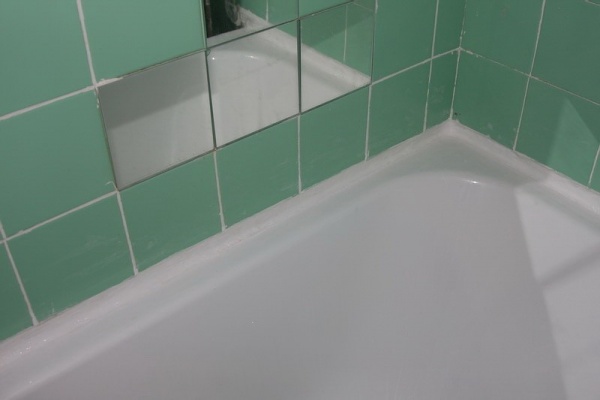
Adjoining the bath close to the wall allows you to close the joint with minimal effort and money. Having ensured high-quality fixation of the bath, it is enough to close the gap with white grout, or matching the shade with the tile. Long-term color retention and moisture resistance are the key advantages of the method. Additional processing in the form of a fugue-gloss coating will significantly increase the level of protection against external pollution and rust. However, the conditions for a tight fit to the tiles around the entire perimeter and stable fixation of the bath are not always feasible, so they resort to more reliable options.
Solution application
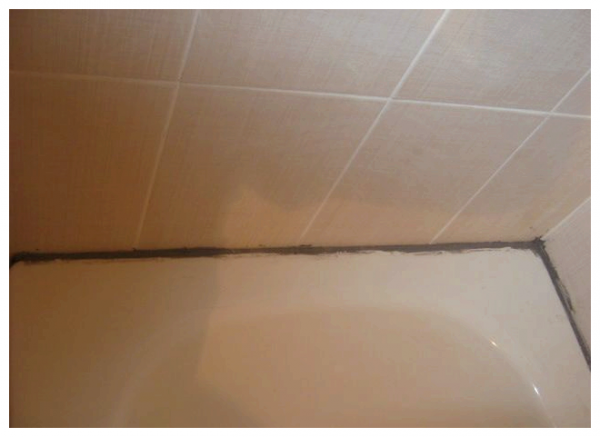
The traditional solution to seal the joint with a cement-based mortar has the right to exist. The cost-effectiveness of the long-known method ensures its steady popularity. To decorate the gap in the bathroom, it is allowed to use the remaining tile adhesive or to put a sand-cement mortar on your own. Sealing the joint with plaster is also appropriate. A sufficiently thick consistency of the solution is an essential condition for a qualitative result. The process of sealing the joint includes the following steps:
- The surface of the bath and adjacent tiles are thoroughly cleaned of dirt.
- The treated area is wetted with water to increase adhesion.
- A plastic mesh used for plastering or puttying corner surfaces, fixed at the junction of the tile and the bath, will help to eliminate the possibility of the solution falling under the bathtub. The absence of a sickle will successfully replace other improvised materials fixed under the edge of the bath.
- After applying a small amount of the solution, tamp it down.
Warning ! Sealing the joint between the bathroom and the tile with cement mortar needs additional protection against moisture.
To increase the level of moisture resistance and give the bathroom an aesthetic appearance, the joint needs to be further finished. Experts suggest treating it with water-repellent impregnation or epoxy resin. The final design of the bath is done using tiles or self-adhesive tape.
Using mounting foam
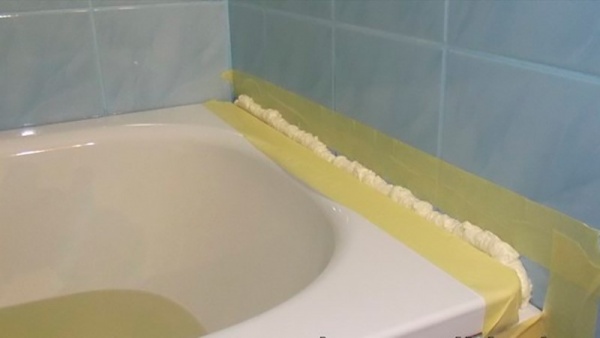
The use of mounting foam greatly facilitates the process of eliminating the joint between the bathroom and the wall. When purchasing a container with a composition, make sure that it has moisture resistant properties. Before starting work, take care to protect your hands with gloves. In the absence of a protective barrier and the foam gets on the skin, thoroughly rinse the area of the body with water, preventing drying. Similar to the grouting process, the surface of the tile and bathtub in the joint area is pre-cleaned. The key to a quality result is accurate actions when applying the material. Avoid getting foam on foreign areas. After it is completely dry, the excess from the bathroom and tiles are removed by cutting with a clerical knife. In conclusion, they resort to one of the most suitable finishing methods - tiles, tape or a border.
Silicone sealant
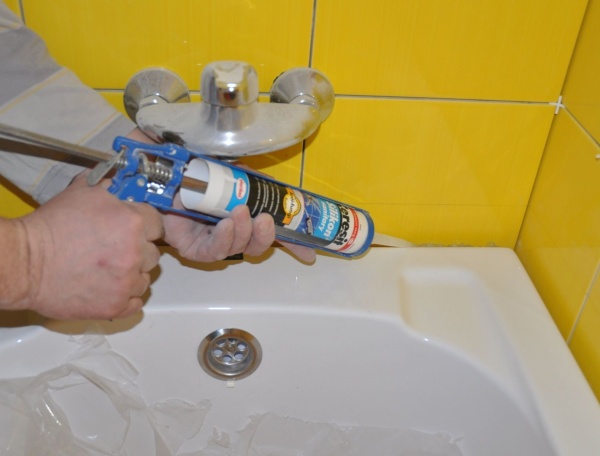
To seal a small gap between the tile and the bathroom, silicone sealant is used as the main installation material. Gaps reaching sizes up to 3 cm require pre-treatment of the joint with mounting foam. Purchase a sanitary sealant that prevents future mold growth in the bathroom. The sequence of work on sealing the gap is as follows:
- The surfaces of the tiles and baths adjacent to the joint are treated with a solvent for degreasing.
- Paper tape pasted along the joint will prevent contamination of the bathroom and tiles.
- Having made a hole in the tube, the attached tip is attached to it.
- Having fixed the tube in a special gun, the silicone-based sealant is carefully distributed over the joint.
- The designated area between the tile and the bathroom is filled with a single movement. It is impossible to apply an additional layer to the frozen mass.
- Prepare a soap solution and a brush of a suitable width.
- A brush dipped in a soapy solution is carried out along the silicone joint in order to give it a smooth surface. Movements must have a strict focus. The randomness of the strokes will lead to the formation of an uneven surface.
A rubber spatula is able to notice the brush. In extreme cases, you can smooth the seam between the tile and the bathroom with your finger or spatula. After the silicone joint has dried, the paper tape is removed. In the absence of it, excess mounting material is removed from the bathroom and tiles with a damp cloth.
Important ! When working in the bathroom, take care of the safety measures.
Working with a solvent obliges to ventilate the room well. A mask and gloves will protect against the negative effects of chemical fumes and prevent skin damage in case of contact with a caustic substance.
Borders: plastic, ceramic, self-adhesive tape
After sealing the joint with a sealing compound, you should take care of the decorative design of the area between the tile and the bathroom. Most often, various borders are used for these purposes.
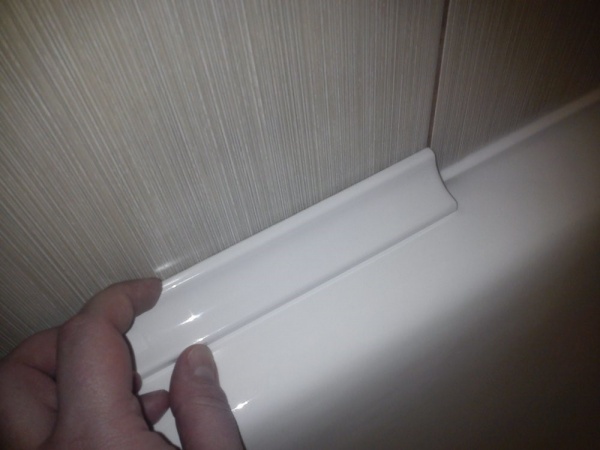
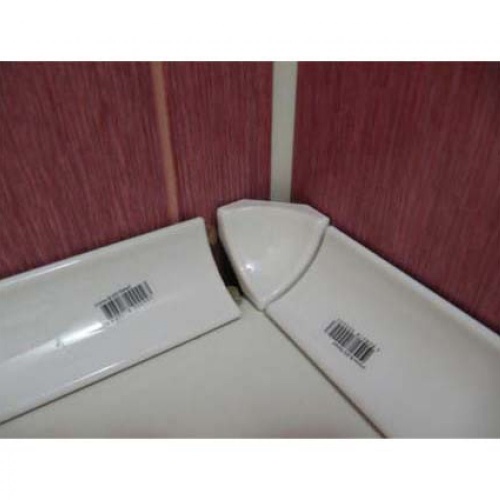
Plastic plinth has a reasonable popularity. A relatively inexpensive product is convenient to use for the final sealing of the joint between the tile and the bathroom. There are various models to choose from. The most common design that closes the junction of the bathroom and tiles by attaching to liquid nails. To form a joint in the corner, the plinth is cut at an angle of 45 ° or resorted to special fittings. A prerequisite for long-term operation is the refusal to use aggressive chemicals and abrasive products. The second option is used less frequently. In this case, the joint is sealed simultaneously with the laying of the tiles. The plinth is pre-installed - one edge is on the side of the bathroom, the second is recessed in the adhesive. Finally, the tile is fixed.
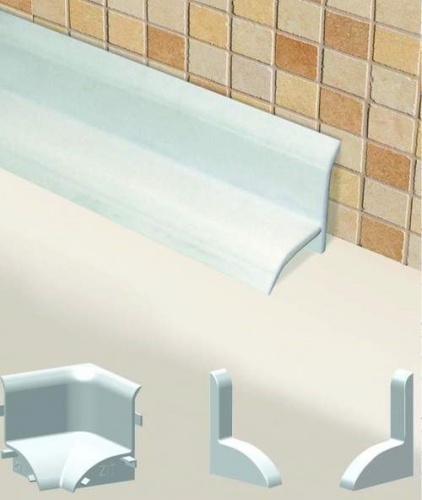
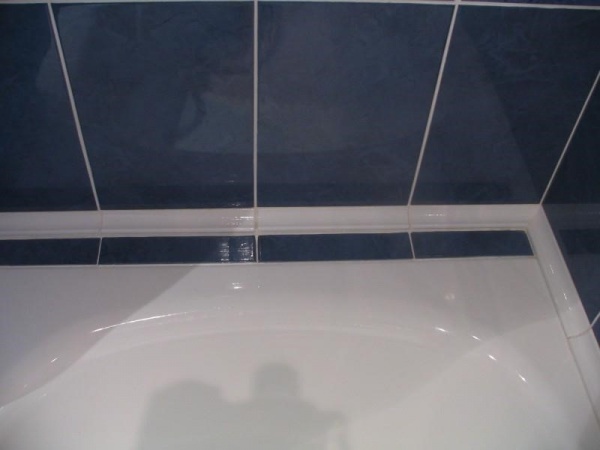
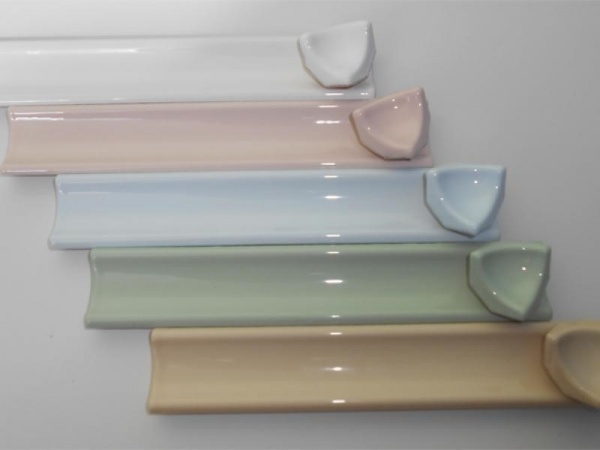
To seal the junction of the bathroom and tiles with a ceramic plinth will cost much more. Method advantage:
- increase in the period of operation;
- resistance to the influence of chemical compositions;
- the surface is practically not scratched;
- the plinth does not change color over time.
The disadvantages include a small selection of color palettes. Docking is carried out similarly to plastic skirting boards.
Advice ! Trimming of ceramic products is carried out with a grinder with a diamond disc. The use of a fragmented disc can cause chipping of the edges and result in poor appearance of the bathroom and tile joint.
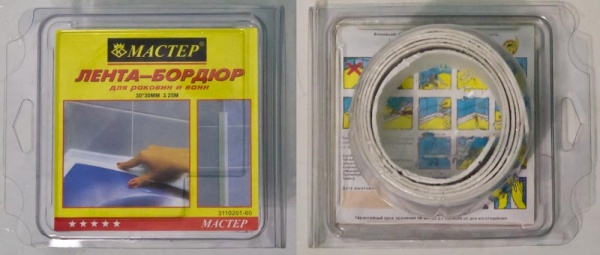
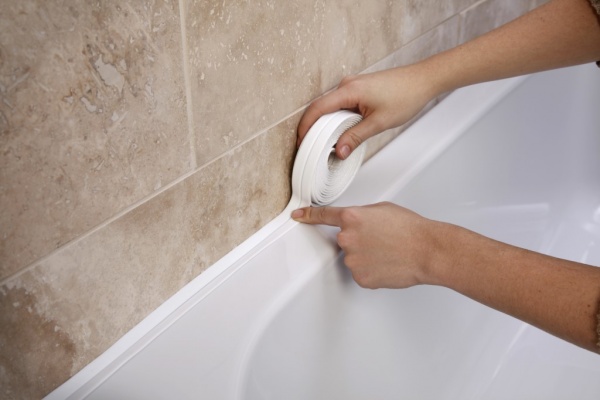
The easiest way is to seal the joint between the tile and the bathroom with self-adhesive tape. The work sequence includes the following steps:
- thorough cleaning with degreasing of bath and tile surfaces;
- removing the protective film from the tape;
- light heating of the product with a hairdryer;
- close the gap by pressing the tape.